Panic Blog
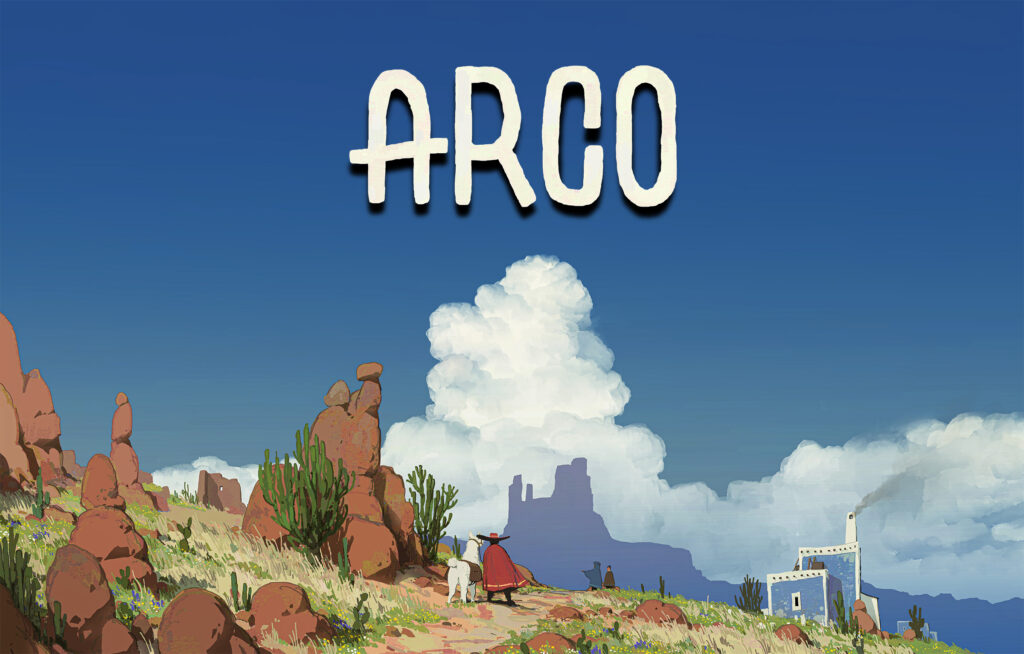
ARCO 登場!
By Noby
Panicゲームパブリッシング事業第4弾タイトルが登場です。ARCO は、あなたの決断がストーリーを形作るダイナミックなタクティカルRPGです。驚くべきピクセルアートと美しいサウンドトラック、チャレンジングでやりがいのある魅力的な新作です。
いくつかのプレスからは Arco に対し、以下のようなレビューが届いています:
“…beautiful to look at, runs like a dream and oozes unique personality…”
—Magnus Groth-Andersen, Gamereactor
“…weaves its tapestry through expressive pixel art, refined systems, and remarkable self-confidence. Arco has the juice, the sauce, the rizz – whatever you want to call it, Arco is dripping with it.”
—James Woods, WellPlayed
9/10
—Edge Magazine
(10点満点中9点なんて、理解できるまでちょっと時間が掛かりました。)
José Ramón “Bibiki” GarcíaによるArcoサウンドトラックもお見逃しなく!

Bandcamp, Spotify などからご入手いただけます。
皆さんにこの新作『Arco』をお届けできることを、そして楽しんでいただけることをとても楽しみにしています。
いつも私たちのゲームをプレイいただき、ありがとうございます!
Panic
PS: SteamページにPanicのパブリッシングページができました。ぜひチェックを!
Herdling. 2025に登場
By Noby
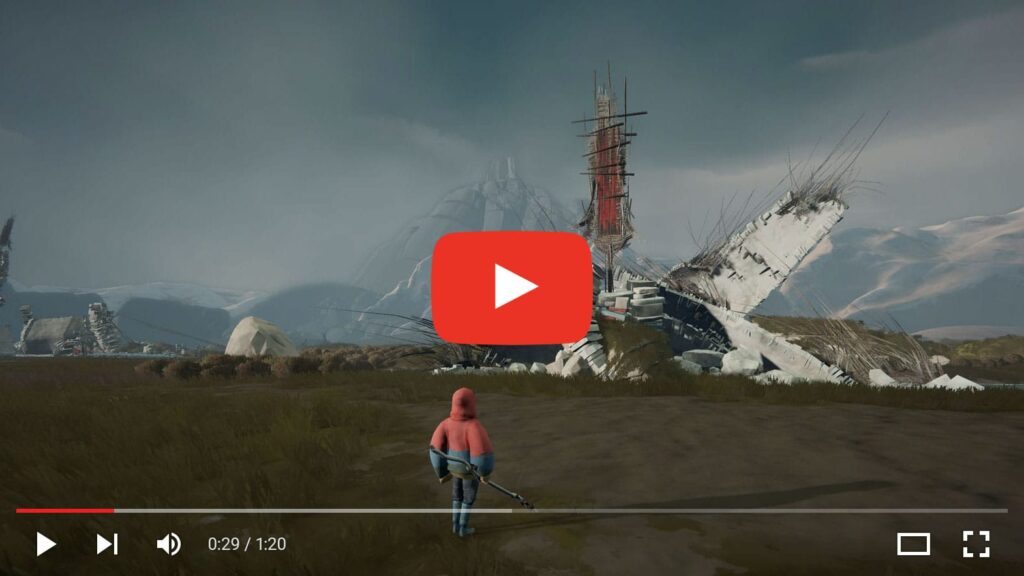
今年のgamescomで私たちの最新作Herdlingがアナウンスされました。本作は「FAR: Lone Sails」や「FAR: Changing Tides」など美しさで高い評価を得ているOkomotiveが開発、パブリッシングをPanicが行います。

Herdlingは、愛らしくも神秘的な野獣たちと壮大なアルプスに分け入り、不気味で危険、意外な障害に遭遇しながら山道を進み、謎を解きながら頂への道を切り開いていくゲームタイトル。
忘れられない体験になるでしょう。
アナウンス・トレーラーはこちら:
ぜひ、開発チーム自らが語る本作への思いと最新情報もお見逃しなく:

See you soon,
Panic
PS: 私たちPanicのSteamパブリッシャーページもぜひ、フォローをお願いします!

私たちは、アプリから機能を減らすことをとっても嫌っています。特に、私たちの手に負えない状況の時は尚更です。しかし時々 — 本当に稀に? — ですが、泣く泣くそうしなければならないこともあり、今回はそれについてお話しします:
端的に言うと近い将来、GoogleはTransmitからのGoogle Driveへの接続を無効にします。それが確認され次第、TransmitとNovaをアップデートし、Google Driveへの接続機能を削除する予定です。
Transmitはアクティブな製品で、その他の接続方法に影響はありません。
(Googleからの無効化が行われるまでは、これまで通りGoogle Driveに接続が可能です。)
Why Though
Googleは先立って、Google Driveに接続するアプリへの新しいポリシーを導入しました。これはこれまでより高価で、セキュリティ評価は毎年行われ時間のかかるものです。そのため、合理的に考えて同機能を維持するのが難しくなりました。同じ理由でAndroid版の開発を中止するという iA Writerのアナウンスメントをご覧になった方もいらっしゃるかも知れません。体験は異なりますが、状況は似ています。Google Drive接続はTransmitの機能の中で飛び抜けて利用されている接続方法ではありませんが、同機能を利用しているユーザ様が多くいらっしゃることも認識しており、実際に私たちも一緒に仕事をしているゲーム開発者たちとのデータのやり取りによく使っています。
今回我々がこのような決定に至った経緯を、ここでご説明したいと思います。
Actually, I Want to Know More
少し詳しく背景をご説明すると、2019年にGoogleはドライブ上のユーザーファイルに完全にアクセスできるアプリに対し、追加のセキュリティチェックを追加すると発表しました。その直後、GoogleはTransmitによる新規ドライブユーザー認証の承認を停止。私たちはTransmitをGoogleのセキュリティ評価のために提出したのですが、何ヶ月待っても何の返事もありませんでした。
最終的に友人の友人の友人を通じGoogle社内で助けてくれる人を見つけ、さらに非常に強力的な従業員と連絡を取ることができ、評価が完了して2020年に停止が解除されました。Novaも同様にお願いしたのですが、残念ながら承認は得られませんでした。
その後の数年は年次評価もスムースだったのですが2023年12月、Googleは再びTransmitからのアクセスを無効にし、“クラウド・アプリケーション・セキュリティ評価 (CASA)” を完了するよう、メールが送られてきました。評価は完了しTransmitにセキュリティ上の問題は見つからなかったのですが、その結果を得るまでは非常に長いプロセスでした。セキュリティラボに登録し、Transmitのソースコードに対して脆弱性スキャンを実行してから長いフォームに記入する必要がありました。各ステップの間にはラボからの返答を待つ必要があり、プロセスの完了には1ヶ月近くかかりました。
3月、Transmitは再びGoogle Driveにアクセスできるようになりましたが以降、毎年このチェックに合格する必要があることを通知されました。この時点で私たちはこの毎年の評価プロセスに価値があるのか、疑問に感じ始めました。
何週間も待たされ必要書類を提出し、コードをスキャンするプロセスの間に私たちのエンジニアはかなりの時間を費やしました。例えば、Googleはスキャンを実行するためのDockerイメージを提供しましたが、それは最初動作しませんでした。それのデバッグと修正に1週間以上を費やさなければなりませんでしたし、スキャナは何の問題も発見しなかったためTransmitの改善には役立ちませんでした。このプロセスからは誰も利益を得られませんでした。グーグルも、Panicも、私たちのユーザーも、です。
小さな独立系デベロッパーとして、何の利益も得ずにこの時間を失うことは大きなコストです。その1週間は、私たちの製品を改善するためにもっと有効に使えたはずです。しかし、それでも当時私たちは年1回の評価チェックを得て、ユーザーの皆さんの期待に応えたかったですし、翌年はもっと簡単にスキャナーが作動することを期待していました。
Bが、その数ヶ月後に Googleはコードを自身でスキャンする方法を止め、Google Driveへのアクセスを維持するための方法としてGoogleの指定するパートナー企業に有償で評価を依頼しなければならない方法に変更されました。彼らは最低価格の割引を約束してくれたが、上限価格の提示はありませんでした。私たちが行なっているのと同じ作業のために他の誰かに大金を払うことになるか、そもそもの請求額がはるかに高くなるかのどちらかになる可能性が高いことに気づきました。
このように常に変化し続ける要件と費用は、ついにサードパーティーに襲い掛かりつつあります。他の製品はGoogle Driveのサポートを打ち切ったり、すべてのユーザーには使えない様々な制限のある興味深い回避策を打ち出したりしているようです。結局のところどのような回避策もリスクが高く、アカウントが使用禁止になる可能性があると私たちは考えています。
We’re Very Sorry!
要するにこれらの要素を考慮し、私たちはTransmitのGoogle Driveへのアクセスが期限切れになったら更新しないことに決めました。それも寂しいことです。その代わり、他の機能や製品の向上に力を注ぐつもりです。私たちは、この状況が、簡単に言えばちょっと最悪であることを知っています。もしGoogleがセキュリティポリシーを改訂し、Panicのような小さなソフトウェア会社にも手が届くようになったら、私たちは間違いなく再検討します。
いつもTransmitをご利用いただき、長年に渡ってサポートいただき、ありがとうございます。これからもどうぞよろしくお願いします。
ご無沙汰しております。ここをチェックしに来てくださるような方々は、我々が開発者向けアプリを多くリリースしていることはご存知だと思います。一方で私たちはビデオゲームのパブリッシングも行っていて、今日は新作タイトルについてご紹介したいと思います。
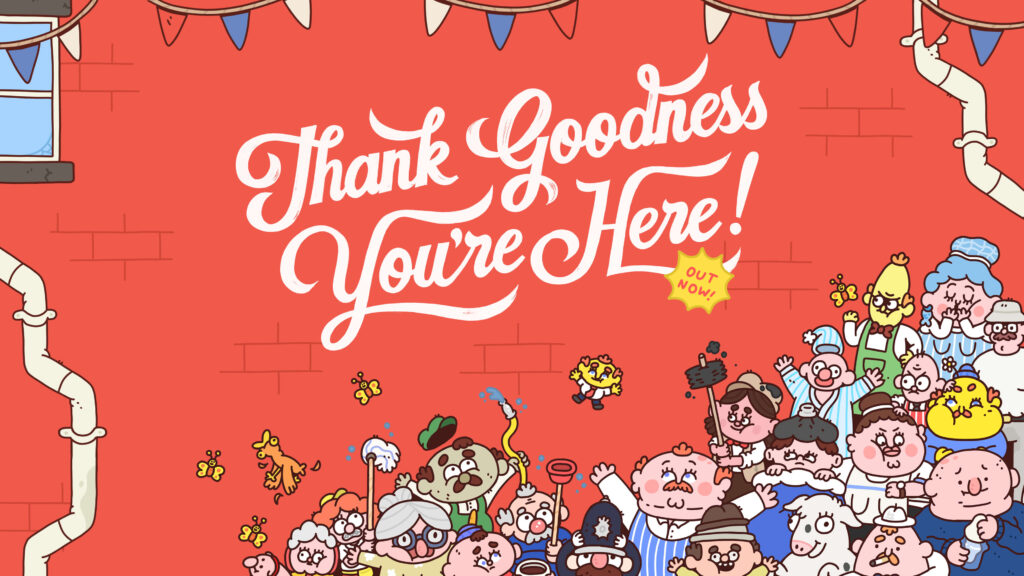
Thank Goodness You’re Here! は、北イングランドの珍妙な街「バーンズワース」が舞台の、ブリティッシュユーモア満載ナンセンスコメディ横スクロール”スラップ”アクションです。
すでにいくつかのレビューが届いており、私たちはその内容に圧倒されています。
“…今年最もユニークで記憶に残る体験の一つであり、これまでに作られた中で最も面白いゲームの一つでもある。”
—Matt Gardner, Forbes
★★★★★
“…考えられるあらゆる場面で期待を裏切る、見事に練り上げられた大胆なコメディ。”
—Matt Wales, Eurogamer
★★★★★
“…コメディゲームの新たなる最高水準。常に陽気で、独創的で、創造的で、それは完全なる歓喜。”
—Jordan Middler, VGC
これらの賞賛は私たちの友人であり、この素晴らしい作品のためにここ数年間驚くほど熱心に働いてくれた素敵なチーム Coal Supper の努力の賜物でしょう!
Thank Goodness You’re Here!は Nintendo Switch, Steam, Mac App Store, Epic Games Store, PlayStation 4 and 5 で遊べます。
それでは次のゲームタイトルでまたお会いしましょう。
Panic
PS: 本作の共同開発者であるJames Carbuttが演奏するミュージックビデオもお楽しみください!
Prompt 3 が完成、準備完了しました。
By Noby
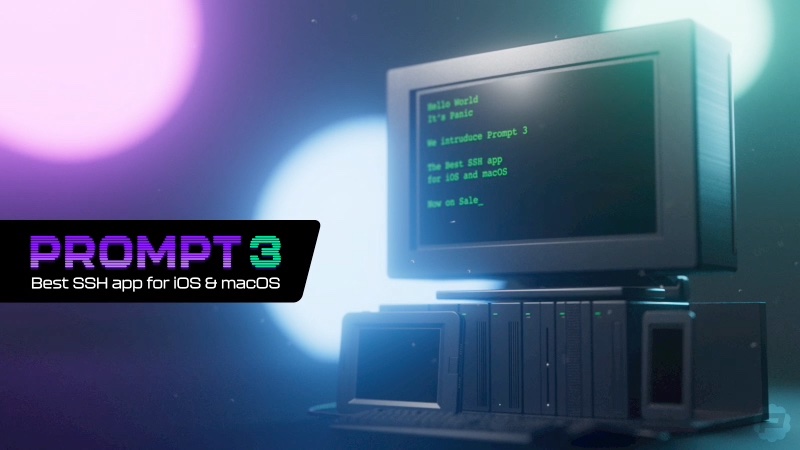
今ベストなiOS用 SSH アプリが、新たにMac版も携えて登場です。
時を遡ること2011年、私たちはiPadとiPhoneでご利用いただけるクリーンSSHターミナルクライアントPromptをリリースしました(PromptはCodaに搭載されていたターミナル機能からの派生製品でした)。リリース直後からポジティブな反響をいただき、4年後にPrompt 2をリリース。iOSとiPadOSのための主要なターミナルクライアントとしての地位を築かせていただきました。実際Prompt 2は多くのお客様にとって安定した信頼性の高いツールであり、サーバに接続して作業を行うための最も簡単で速く、クールな方法となりました。レーティングスコア4.8、4,300以上のレビューはその証明と言えるでしょう。
更により良くするために働き続け本日、Promptのメジャーアップデートを発表できることを嬉しく思います!
永らくお待たせしましたが皆さんからのリクエストにお応えし、iPadのマルチタスク、moshやEternal Terminalサーバーへの接続サポート、tmuxサポート、ターミナルエミュレーションの高速化、ジャンプホストのサポート、カスタマイズ可能なフォントとテーマ、Secure EnclaveとYubiKey認証、ダークアイコンなどなど、要望の多かった機能をすべて追加しました。
Prompt 3はこれまで以上に高速でフレンドリーで、パーソナライズされたものになりました。
そう!One more thing: Prompt 3にはMac版もあります。
Panic Syncを使えば、あなたのサーバーやクリップへどこからでも手が届きます。
あなたのすべてのデバイス上でPrompt 3が適切に感じられること。これが我々にとって非常に重要でした。MacアプリはPanicにとって情熱のあるこだわりの領域であるため、完全に独立したアプリとして存在します。それぞれがそれぞれのプラットフォーム上で専用に開発され、自然に扱えるようゼロから開発しました。MacアプリはMacで、iOSアプリはiPhoneとiPadで動作します。
お求めについてもシンプルで簡単です!どちらかのプラットフォーム用を購入いただければ、もう一方が無料で手に入ります。App Store上でアンロックされそれぞれダウンロードいただくことで、2つのアプリがご利用いただけます。
過去、私たちはiOSソフトウェアでお金を稼ぐことの難しさについて公に語ってきました。Promptは他のiOSアプリよりも少し良い売り上げを上げていますが、フルタイムの開発を正当化するほどの売上はありませんでした。多くの成功したiOS開発者やAppleの友人たちに相談した結果、年額3,000円(いつでもキャンセル可能)のサブスクリプションがこのプラットフォームで十分な売上をあげ、継続的な開発に必要な資金調達が行える唯一の方法であるという結論に達しました。
繰り返しになりますがこの価格で、異なるプラットフォーム用の2つのアプリのすべての機能がご利用いただけます。また初回に限り、無料の7日間トライアルがご利用いただけます。
(もしサブスクリプションがお嫌いでしたら、買い切り型でお求めいただくこともできます。価格はどうしてもだいぶ高価になりますが、永遠にあなたのものになります。)
私たちはPrompt 3が、他のプロ用ターミナルエミュレータの価格の一部で信じられないほどの働きをするツールだと信じています。素晴らしいユーザインタフェースを備え、さまざまなサーバとの接続でかなり簡単に作業でき、楽しいとさえ感じられるような体験をもたらすでしょう。ぜひ皆さんの環境でお試しいただき、そうすることで私たちの想像をすぐにご理解いただけると確信しています。
Prompt 3はApp Storeからご入手いただけます。初回に限り無料の7日間トライアルも。
それではお楽しみください!
PS: 私たちはPromptをより良くしたいと考えています。ぜひフィードバックをお聞かせください!